Process a Receipt in one step (Receipt)
There is no configuration needed to receive in one step. The default incoming shipments are configured to be directly received from the vendors to the stock.
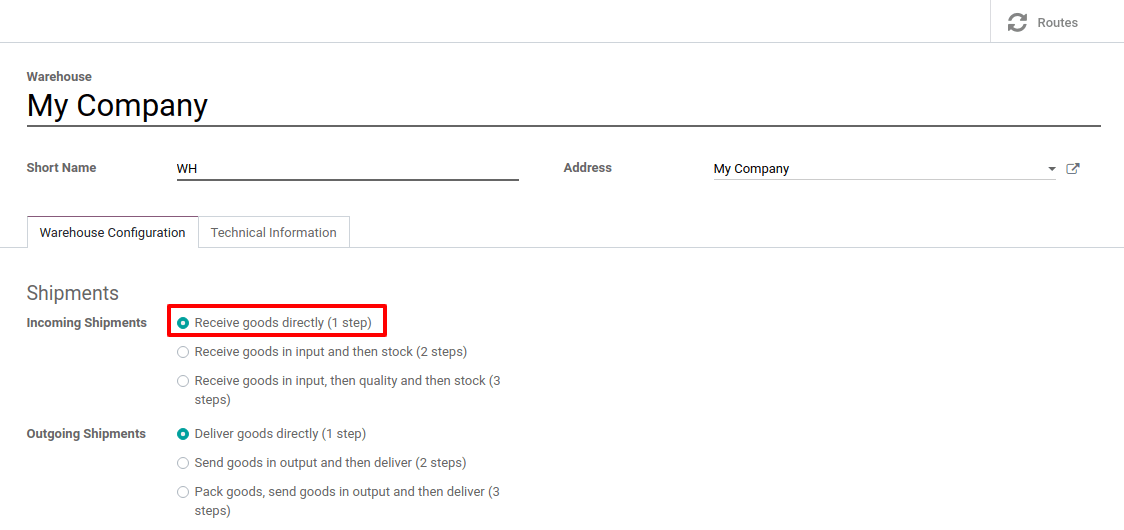
However, if advanced routes have been activated and you set another incoming configuration on your warehouse, you can set it back to the one-step receipt configuration. To do so, go to and edit the warehouse in question.
Set the Incoming Shipments option to Receive goods directly (1 step).

Create a Purchase Order
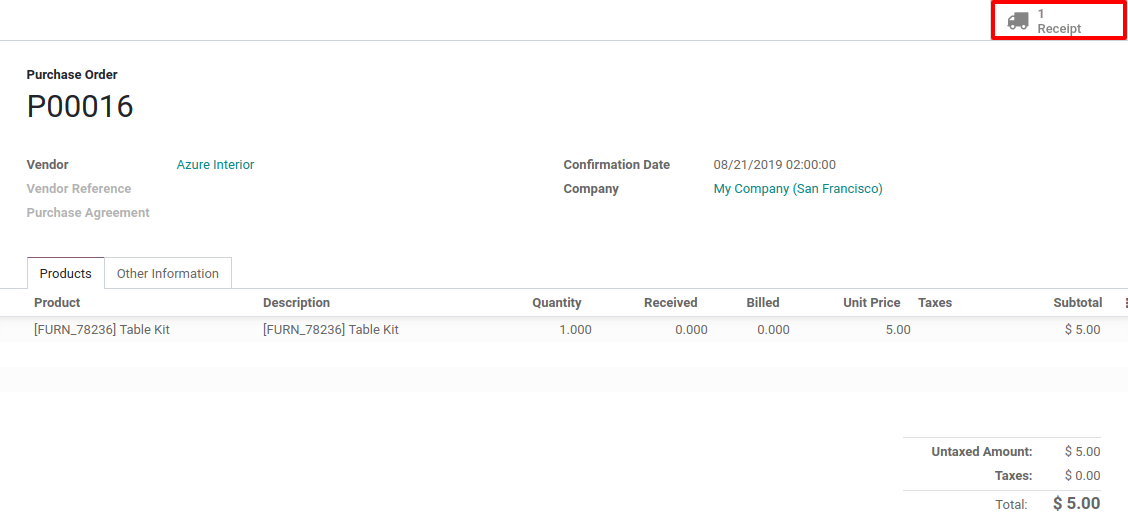
To create a Request for Quotation, go to the Purchase application and click on Create. Then, add some storable products to receive and confirm the RfQ.
Notice that, now, we see 1 receipt associated with the purchase order you just created. If you click on the button, you will see your receipt order.

Process a Receipt
You can also fin the receipt directly from the Inventory app. When on the dashboard, you can click the 1 TO PROCESS button under the Receipts Kanban card. Then, you will see your receipt.

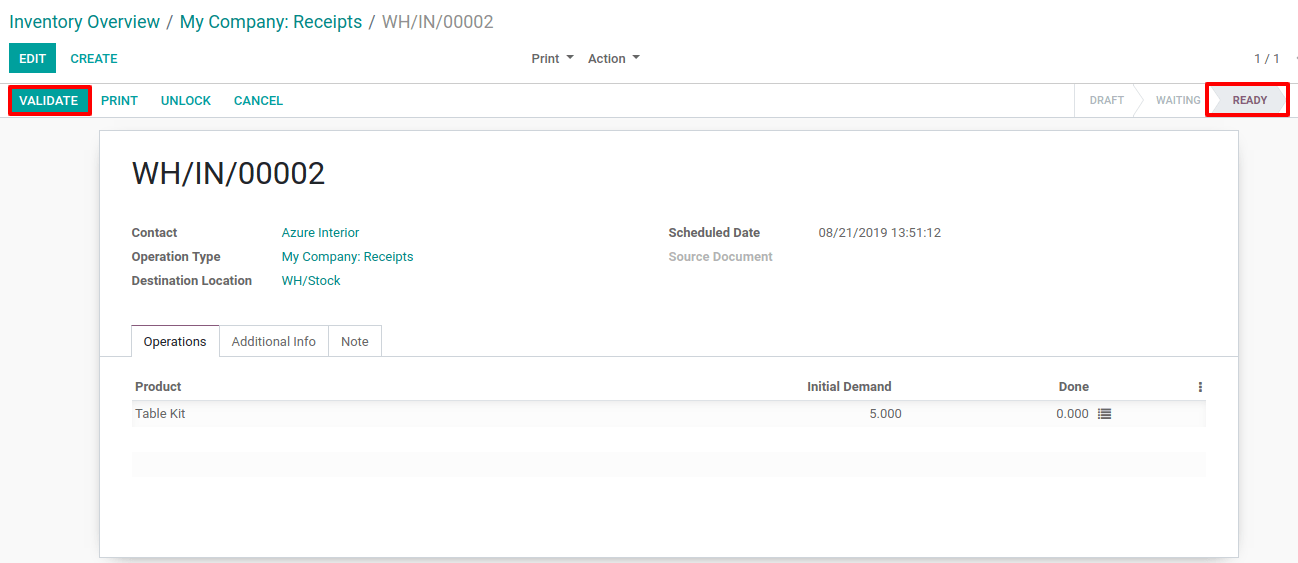
Now, enter the picking that you want to process. You will be able to click on Validate to complete the move directly as products coming from suppliers are considered as being always available.
Note
If you have Storage Locations activated, you can click the hamburger menu next to the Done quantity to specify the location(s) where you are storing the received product(s).

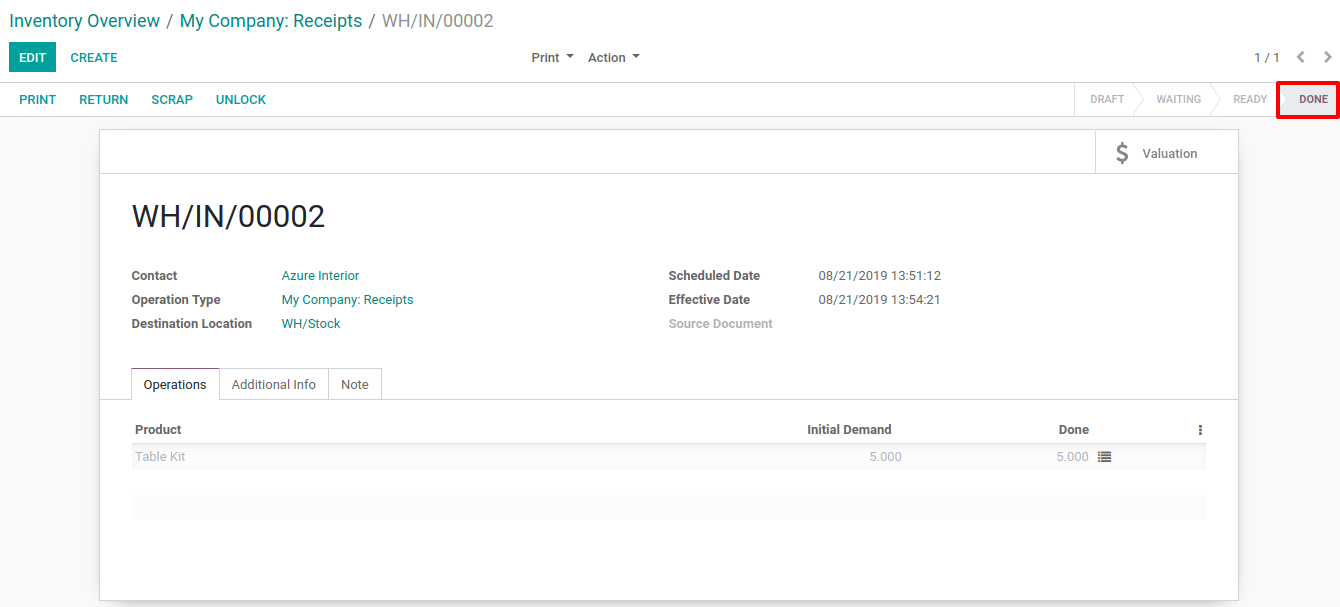
Once you Validate the receipt, the products leave the Supplier Location to enter your WH/Stock Location. You can easily see that the receipt took place thanks to the status of the document, which is now Done.
